Sun-tan is one of the easiest ways to get a tan that makes your body feel luminous and radiant. However, exposure to the hot sun for a prolonged period can be fatal due to the harmful UV rays, and therefore, switching to self-tan care is a perfect idea.
Before applying the right self-tanner, you may want to make sure that it works great on your skin and does not leave behind patches of scars or bruises. Hence, one needs to select the one that looks natural and does not negatively impact the skin.
Look For The Ingredients

It is always best to choose the organic version over the brand full of chemicals. The organic brands typically contain sugars from fruits and vegetables that give a naturally tan gradient to your skin. In contrast, the brands with ingredients of chemical compounds use items like dihydroxyacetone which react with the epidermis resulting in the darkening or pigmentation of your skin.
So before you self-tan, use a bit of it behind your ear lobes to knock out any potential side effects like irritation or burns.
Select The Right Shade

If you are confused about selecting various shades, it is always best to choose a lighter shade. Because you can make a lighter shade darker, but not the darker shade lighter, provided you want a dark tan.
Experts suggest also consider the season as light shades fit best for winters while dark ones for the summer.
Types Of Self-Tanners

Below is a list of self-tanner formulations. You may need to apply these using different methods.
Self-Tanning Lotions And Creams

Like any other lotion, you simply smooth these creams over your skin. The tan takes few hours to build, and once it does, it is the best option to cover larger surface extremities like your hands and legs. However, if not applied consistently, they can give rise to streaks and patches, which are quite noticeable.
Self-Tanning Towelettes
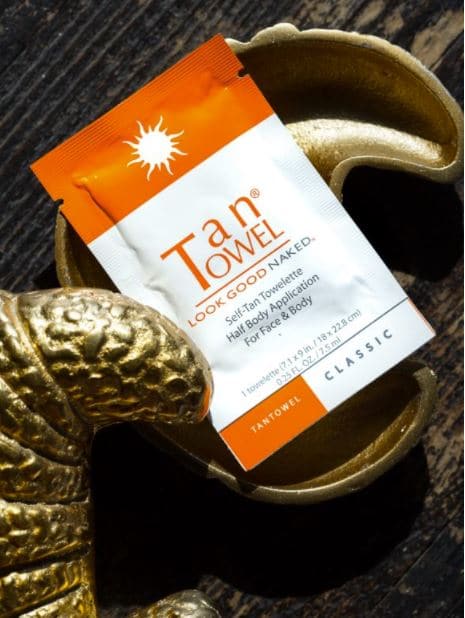
These are sheets presoaked with self-tanner, which can be streaked across the skin to get a smooth tone. Best when on vacations because the results appear within a short period.
Self-Tanning Gels

These can also include mousses, which you can easily apply and benefit from fast drying times. However, it would be best if you were quick at blending because they can be absorbed quickly into the pores of your skin.
Self-Tanning Oil

This application takes longer than the others due to the amount of time it takes to dry and absorb into the skin. Follow the instructions on the product, but usually, this is an overnight process.
Application Steps
Step 1: Exfoliate Your Skin
It would be best if you started preparing your skin for the tan, and so your dead skin pores need to be open and cleansed. A homemade scrub will suffice so that you do not overwhelm your skin with chemical products.
Step 2: Get Rid Of Body Hair
It is best to wax a day in advance so that your skin is smooth for the application. If you shave after the tan, there are chances that, along with the hair, you may get rid of the tanner. However, make sure you do not cut through your skin while using razors so that your skin is intact and ready for a glow.
Step 3: Consider Your Skin Type
Oily Skin: If you have oily skin, do not apply any moisturizer just before the application because it will hinder the absorption of the tanner.
Dry Skin: There are chances that due to the texture of your skin, the tanner will absorb faster, so do not apply a moisturizer that contains oil.
Acne-Prone Skin: Make sure there are no cuts or bruises on your skin. Also, remember it is always best to use a lighter shade for the face because the pH of the face is lower and so it can absorb the tan darker than the rest of the body.
Step 4: Order Of Application
Start from the toes, pushing up towards your feet, stomach, chest, and then your arms and last, on your face. Do not use bare hands; instead, purchase an application mitt for an even texture and blend.
Step 5: Patiently Wait For It To Dry
Every application has its dry time, so before haste, take a quick look at how much time it takes to absorb and dry. Some may take hours while some a few minutes. However, it is not best to wear shoes or clothing for at least 20 minutes.
Other Useful Tips
Make sure your skin is dry for at least eight hours for your tan to last longer for a prolonged effect. If you see spots on your skin, then do not worry. Apply a self-tanning concentrate mixed with your day and night creams to get rid of the marks.
How often you apply self-tanner depends on the type of formulation you use and the type of activities you are engaged in. one can use self-tanner regularly until the required color is reached or once a month. However, take the necessary precautions before using any products.
The Bottom Line
Remember the steps and apply the one that best suits your body. Remember to exfoliate the skin, and so do not overdo it with the tan because excessive use can be alarming. Lastly, remember to look at the ingredients on any product you choose. If you do the proper research you will find various organic self-tanning products to help your skin glow without the harsh chemicals.